
Simple Ways to Improve Travel Footage: Cropping, Framing, and Clean Edits
There’s always that moment after a trip when you finally sit down to look through your videos. And somehow… they don’t look as good as you remember.
The place felt huge, bright, and alive. But on screen, your raw footage looks a little flat. Maybe the horizon is slightly crooked. Maybe your subject is way smaller than you thought. Sometimes a random stranger sneaks into your shot, and you don’t even notice it while filming. It happens way more than you’d expect.
Best time to visit
Click a month above to see details.
The good part? Fixing it is usually easier than people think. You don’t need advanced editing skills or expensive software. Most travel clips just need small adjustments — nothing dramatic.
Why Editing Actually Matters
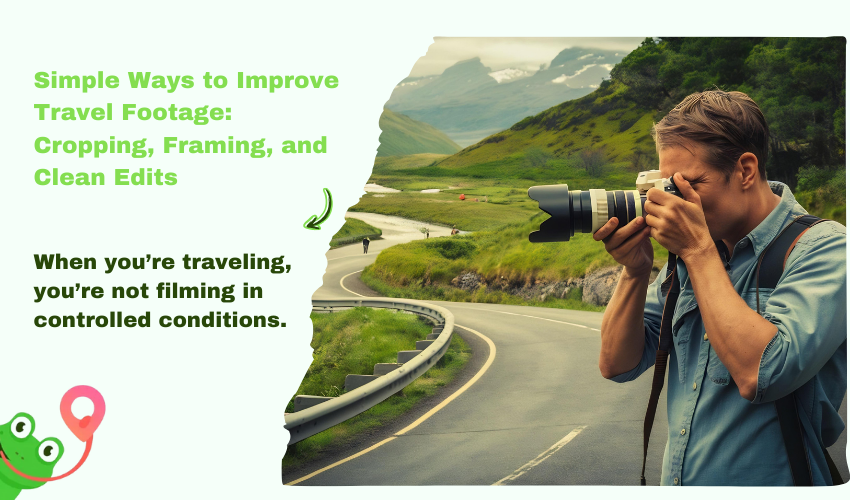
When you’re traveling, you’re not filming in controlled conditions. You’re walking, turning, reacting. You press record quickly because the moment won’t wait. So of course things aren’t perfectly framed.
Editing is really just the part where you pause and take a proper look at what you’ve shot. It’s not about making it look like a Hollywood movie — more like cleaning it up so it actually makes sense and feels intentional.
Most of the time, that just means:
- cutting the awkward first two seconds
- trimming the part where nothing happens
- removing something distracting at the edge
Tiny tweaks, but they really matter. You’re not altering the memory — just polishing it a bit.
Cropping: The Quickest Improvement You Can Make
If I had to pick one easy fix that improves travel videos almost instantly, it’s cropping.
A lot of clips aren’t bad — they’re just loose. Too much sky. Too much empty space. Something slightly pulling attention away from what matters. Cropping tightens the frame.
Cropping just helps tighten up your frame and focus on what really matters. You don’t need anything fancy to do it — a lot of people are surprised you can even crop video in VLC for basic adjustments. It’s not a full editing program, but it’s perfect for quick fixes to your framing. If you want a bit more control, Shotcut or OpenShot are still really easy to use for beginners.
Even trimming just a tiny bit off the edge can make a clip feel sharper and more focused — it’s a small change, but you can definitely notice it.
Framing: Why Some Shots Just Feel Better
Ever watch a clip back and think, “Something feels off,” but you’re not sure what? That’s usually framing.
Maybe everything is centered when it doesn’t need to be. Maybe the subject is slightly too low in the frame. Maybe the left side feels heavier than the right. These aren’t huge problems — they’re small balance issues.
The good news is you can often fix them while editing. A slight crop. A small adjustment. Nothing dramatic.
Be honest with yourself when going through your clips. If a shot isn’t really adding anything, just cut it — your travel video doesn’t need every single second you recorded.
Keep It Simple
One mistake beginners make (and honestly, most of us did this at some point) is over-editing. Too many transitions. Too many effects. Too many attempts to make things look impressive.
But travel footage usually works best when it’s clean. Straight cuts. Natural pacing. Consistent color. That’s enough.
- If something feels long, shorten it.
- If it feels repetitive, trim it.
- If you’re unsure about an effect, remove it and watch again.
Simple usually wins.
You Don’t Need Complicated Software
There’s this idea that you need professional-level programs to make decent travel videos. Not true.
Plenty of tools are more than enough:
- Clipchamp – runs in your browser and handles basic edits easily
- iMovie – simple and clean for Mac users
- Movavi Video Editor – simple layout, easy trimming and exporting
- Shotcut – free and open-source with solid core tools
- OpenShot – straightforward and beginner-friendly
- Adobe Premiere Elements – structured and guided without being overwhelming
The tool matters less than practice. The more you edit, the more natural your editing skills become. It’s repetition, not complexity, that improves your results. For creators looking to take travel videos to the next level, Seedance allows you to use text, images, clips, and audio as references to create videos with flawless consistency and realistic physics, making it easier to turn raw footage into engaging and share‑worthy content.
A Simple Way to Approach Editing
If you’re not sure where to start, try this:
- First, watch everything once without editing.
- Second, delete what you definitely won’t use.
- Then adjust cropping and framing.
- After that, trim for pacing.
- Finally, watch the whole thing through again.
Going step by step keeps you from overthinking it.
Think About the Platform
Before you hit export, think about where your video’s going.
- YouTube usually looks best in horizontal (16:9).
- Instagram and TikTok? Vertical or square works better.
- For blog videos, slower pacing and balanced framing just feel nicer.
Sometimes, even a tiny crop can make the same clip work across all these platforms.
Final Thoughts
Travel videos don’t need to be perfect. They just need to feel good to watch.
At the end of the day, travel videos don’t need to be perfect — they just need to be fun to watch. Focus on keeping things clear rather than piling on effects. Make small tweaks, work on one thing at a time, and over time your editing skills will get better naturally — not because you force it, but because you keep practicing.
And don’t forget — you filmed those moments for a reason.
